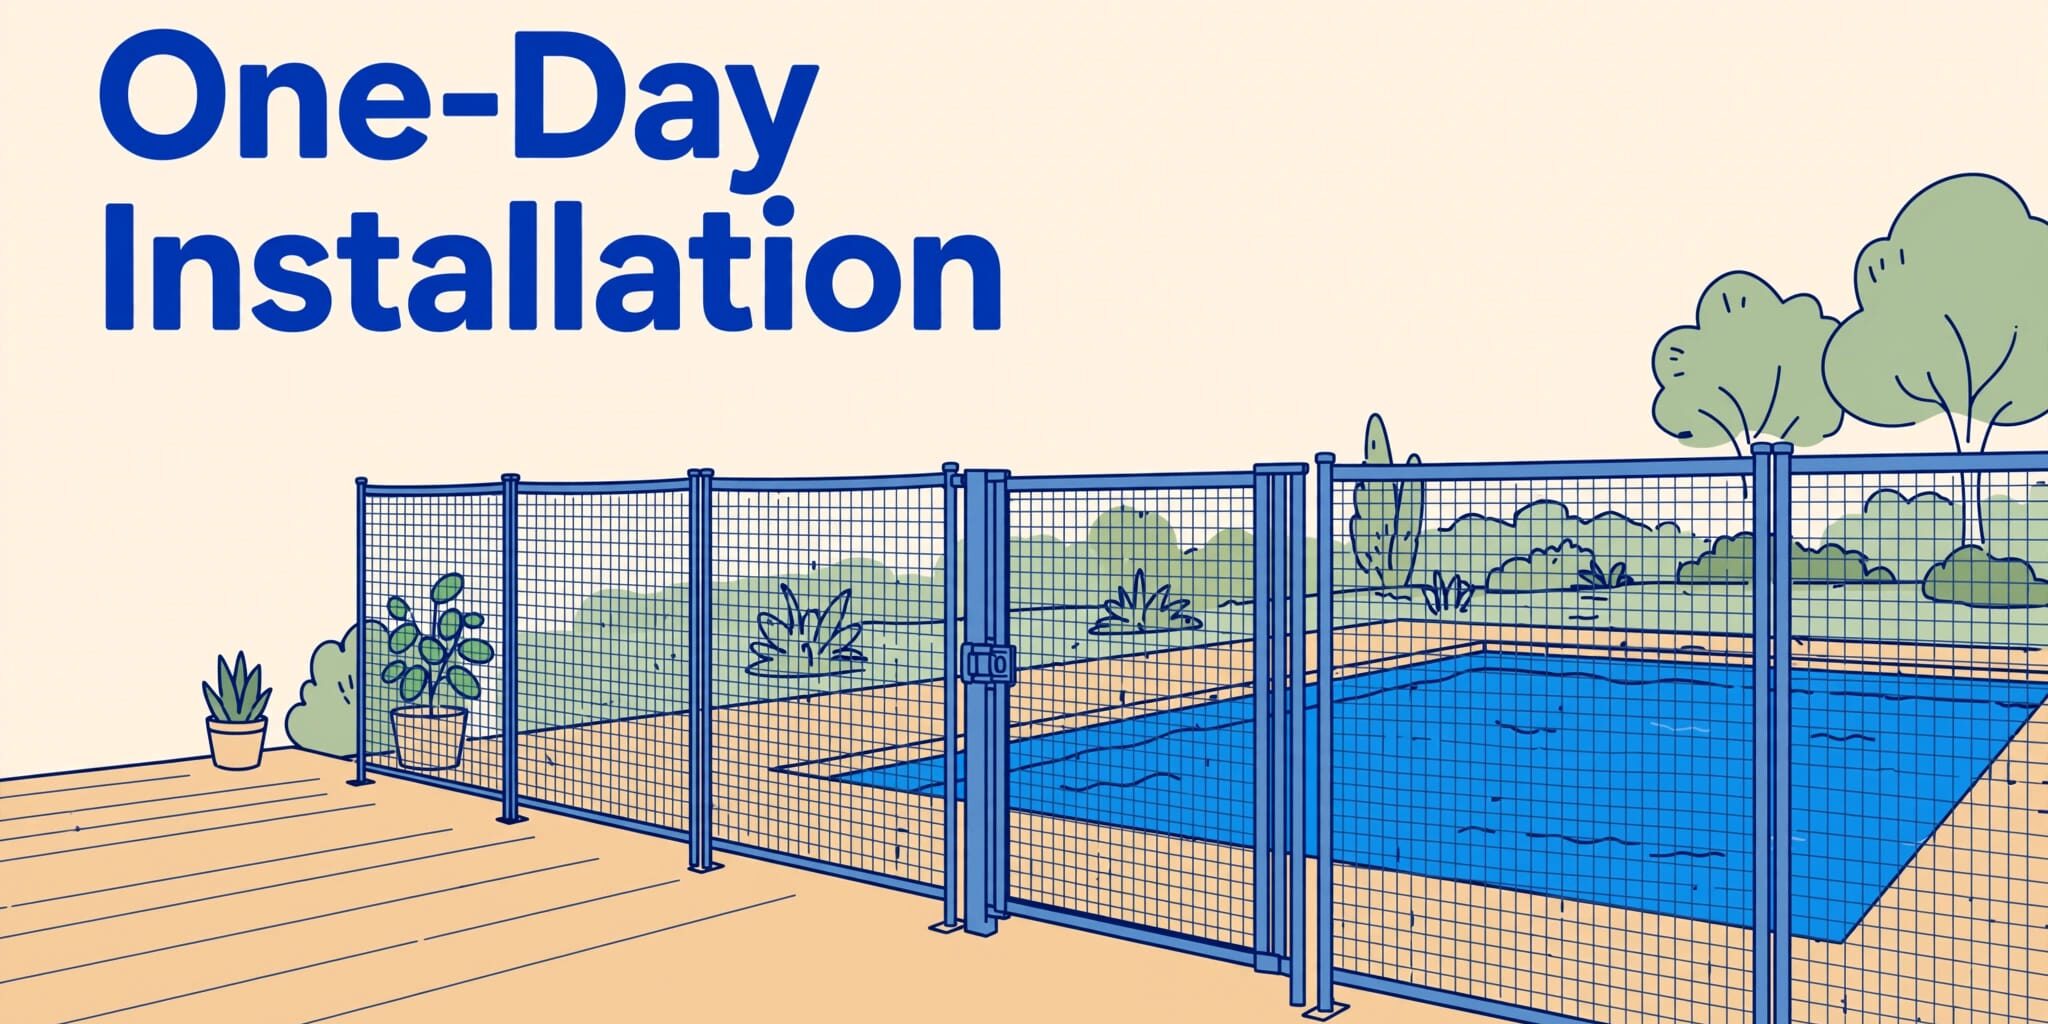
A safer pool area can come together in one day, but careful planning starts before the crew arrives. Professional installation includes measuring, checking the deck, fitting secure safety mesh sections, and testing the pool fence gate.
For homeowners, the welcome change is peace of mind without losing the open backyard view. A straightforward installation can fit a one-day schedule, while deck repairs or unusual site conditions may require additional work.
The day starts with a shared plan for the fence route, gate, and family access.
Key Takeaways
- A one-day installation is possible when the deck, measurements, layout, and components are ready; repairs or unusual site conditions may extend the work.
- Before installation, clear the fence route, arrange supervised spaces for children and pets, and confirm permit and HOA requirements.
- The installer should assess the full route and deck conditions before drilling, then fit the sleeves, mesh, poles, and gate according to the fence system’s instructions.
- Before the crew leaves, check the anchors, mesh connections, lower edge, and gate closing and latching, and learn how to remove and reinstall sections.
- A pool fence adds protection but does not replace close adult supervision around water or regular checks of the barrier.
What a One-Day Installation Includes
Pool Fence of SWFL offers one-day installation for a mesh pool fence. The crew needs suitable deck conditions, confirmed measurements, and the correct components before work begins.
Professional installation involves much more than putting poles into holes. The installer checks the entire barrier, including its anchors, connections, safety mesh, lower edge, and gate.
Arrival and a final layout review
First, the installer walks the pool area with the homeowner. They confirm the fence route, gate location, deck condition, and access for equipment.
This conversation gives families a chance to raise practical concerns. Pool-cleaning access, outdoor dining space, and the usual walking path all matter.
The crew also checks whether anything changed since the estimate. New pavers, moved equipment, or drainage work can affect the original plan.
Clear communication makes the day easier. Homeowners should know where the crew will work and which areas need to stay clear.
Installation and completion checks
After confirming the layout, the crew marks sleeve locations and prepares the deck for drilling. Then they install sleeves, fit poles, connect mesh sections, and adjust the gate.
The final walkthrough matters just as much as the installation. A tidy fence still needs secure anchors and reliable closing hardware.
Weather, hidden deck damage, or required curing time can change the schedule. A responsible installer explains those concerns before promising completion.
Getting the Backyard Ready Before Arrival
A little preparation helps the crew work efficiently. It also supports child safety by keeping children and pets away from tools, open access points, and the water.
Homeowners can schedule a free estimate to discuss their deck, layout, and installation-day needs beforehand.
Clear the work area and arrange access
Furniture, toys, planters, and pool accessories should be moved away from the planned pool safety fence route. The crew needs clear access to each core drilling location.
Families should also arrange a separate, supervised space for children and pets. Installation temporarily changes normal backyard access.
The homeowner should confirm equipment access, water or electrical needs, and whether someone must remain available. These details prevent avoidable interruptions.
Swimming pools should remain off-limits until the crew completes its work and checks the barrier. The work area needs clear boundaries throughout installation.
Confirm permits and community rules
Florida’s residential pool barrier requirements include a minimum pool fence height of four feet. They also address openings, climbability, and gate operation.
Local building departments may require permits, inspections, or additional details under local building codes. Homeowners should confirm those requirements before installation and core drilling.
An HOA may also have rules about fence appearance. Those rules don’t replace applicable safety requirements.
ASTM F2286 standards cover design and performance requirements for removable mesh barriers. Homeowners should verify the documentation for the exact fence model.
Product documentation helps clarify what the manufacturer promises. It doesn’t replace local approval.
Planning the Fence Route Before Drilling
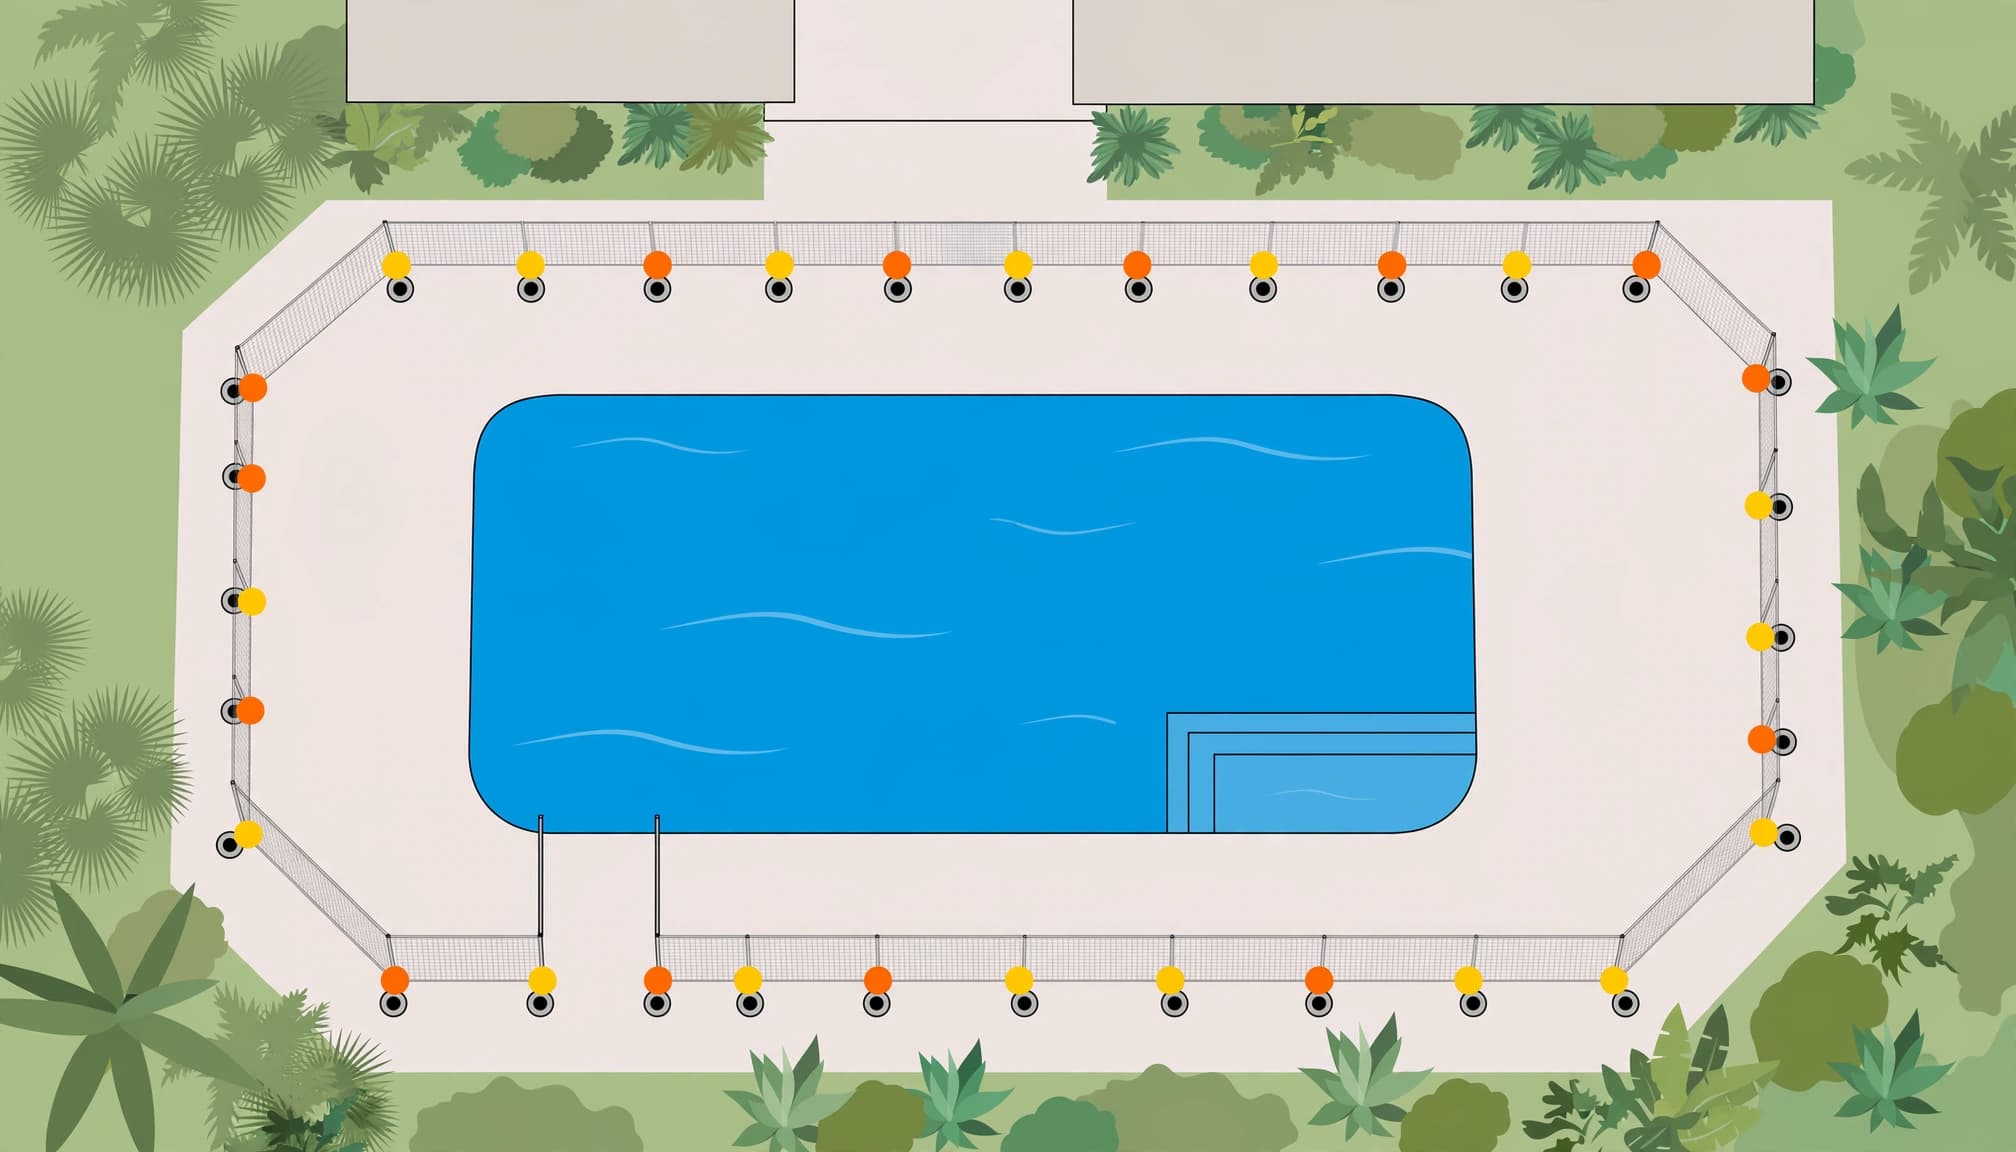
A good fence route separates the pool from normal family activity and leaves adults comfortable access to the gate. Careful layout planning is an important part of a successful removable pool fence installation.
Keep the water and walking space in mind
The installer measures the pool perimeter and marks proposed post locations. Curves, coping, doors, landscaping, and maintenance access all influence placement.
There isn’t one universal distance between every removable fence and the water. Florida’s pool safety statute requires sufficient separation from the water’s edge, while building codes may also affect required clearances.
The installer should explain the proposed clearance for that property. An online measurement shouldn’t override the approved layout.
The route must also form a complete barrier. An opening around a wall or landscape border can compromise the safety mesh and weaken child safety.
Review drains, steps, and nearby objects
Drain grates need access for cleaning and maintenance. Sleeve locations shouldn’t interfere with drainage or force unsafe fence placement.
Slopes and steps deserve careful review. The installer checks the lower edge along the full route, rather than judging individual poles.
A level-looking fence can still leave an unsafe opening beneath one section. Changes in elevation need attention before core drilling starts.
Nearby chairs, storage bins, and planters also matter. They shouldn’t give children a convenient climbing point beside the mesh.
A clean route feels easier to use. More importantly, it supports dependable pool protection.
Drilling and Installing the Deck Sleeves
The drilling stage usually creates the most noticeable noise and disruption. Core drilling equipment may produce dust or slurry that needs cleanup.
Careful removable pool fence installation protects the deck while creating stable support for each pole.
Match drilling details to the fence system
Hole diameter, depth, spacing, and angle depend on the selected fence system. The manufacturer’s instructions control those details.
There isn’t one masonry drill bit or sleeve depth that fits every product. Guessing can leave loose sleeves or damage the deck.
A diamond core drill may suit some concrete installations. The installer chooses equipment after evaluating the surface and anchoring requirements.
Before drilling, the crew should check slab thickness, edge distances, and potential hidden utilities. Accurate markings deserve a final review.
Next, the installer clears debris and fits the specified deck sleeves. If the selected system calls for a locking deck sleeve, it should be installed as directed.
Check the support beneath the surface
Concrete, travertine, pavers, and natural stone don’t all provide the same anchoring conditions. The material beneath the finished surface matters too.
A paver can look sound while its base shifts. Cracked stone or weak edges also need attention before anchoring.
The installer should identify repairs or additional support requirements before proceeding. Surface appearance alone doesn’t establish a dependable foundation.
Homeowners searching for a no holes pool fence may find a water filled base, a separate product approach. Request its product documentation and local approval; avoiding holes doesn’t establish compliance.
These checks help prevent an installation that looks finished but needs correction.
Fitting the Mesh Panels and Self-Closing Gate
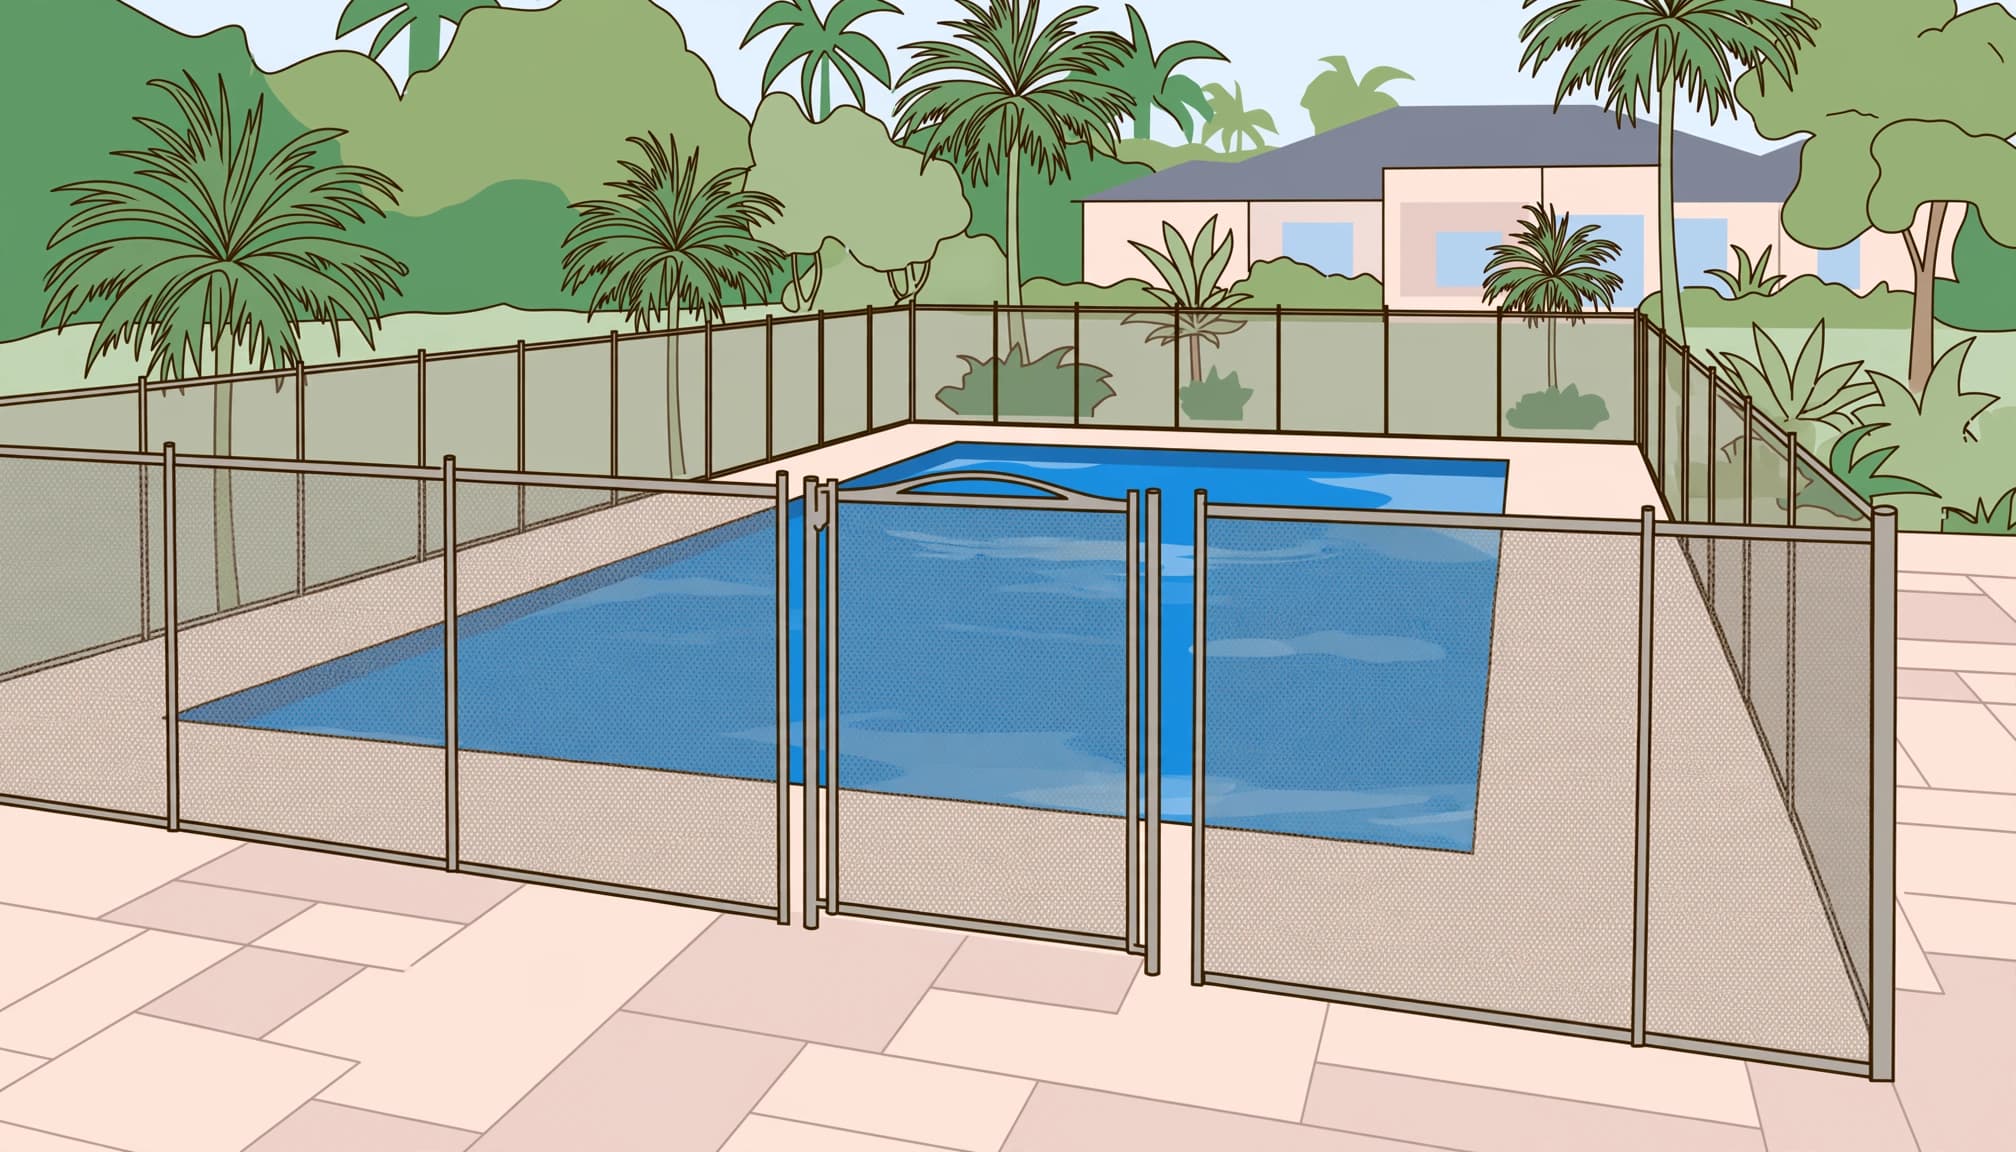
Once the sleeves sit securely, the crew fits the poles and connects the pool fence sections along the approved route.
Check tension and every connection
The installer adjusts safety mesh tension across each section. In a tension based system, loose fabric, incomplete connections, or leaning poles need correction before the walkthrough.
Corners and curves deserve close attention. The fence should stay connected without pulling posts out of alignment.
Inspect the safety mesh lower edge again after tensioning. Adjustments can change clearances, especially along uneven surfaces.
See-through mesh helps preserve the pool view, which families appreciate. Still, appearance comes second to a secure, complete barrier.
Compatible poles, sleeves, sections, and hardware support a proper fit. If the selected model specifies aluminum poles or stainless steel hardware, confirm those materials in its specifications.
Test closing and latching together
The pool fence gate needs room to swing without hitting furniture, landscaping, or nearby surfaces. It should open away from the pool.
The CPSC’s residential pool barrier guidelines explain self-closing gates, self-latching hardware, and child-resistant latch placement.
The installer should test the self closing gate from several open positions. It must close fully and catch the latch without help.
A self latching gate that needs lifting or a final push needs adjustment. Check that the climb resistant gate design and latch placement meet applicable building codes.
The Final Walkthrough Should Feel Thorough
Before the crew leaves, the homeowner should see how the completed barrier works. The installer should demonstrate each feature clearly.
A useful walkthrough includes these checks:
- Every pole sits securely, and each safety mesh connection closes correctly.
- The lower edge follows the approved clearance throughout the fence route.
- The pool fence gate closes and latches after release from different positions.
- Drains remain accessible, and the surrounding area stays clear of climbing objects.
- The homeowner understands section removal, reinstallation, and sleeve-cap placement.
Homeowners should also confirm that the model documentation references ASTM F2286 standards. The installer should explain what to do if the gate starts dragging or missing its latch. Prompt service matters.
Removal deserves clear instructions too. Families need to understand how to restore the original route and tension correctly.
Empty sleeve caps help keep debris out. However, removing mesh sections also removes that part of the protective barrier.
A fence that looks tidy still needs a working gate, secure connections, and controlled openings along its entire route.
After installation, families should repeat checks following storms, landscaping work, or fence removal. Those activities can change alignment or surrounding conditions.
The CPSC’s Pool Safely guidance also emphasizes supervision around water. A mesh barrier adds protection, but it doesn’t watch children.
Close adult supervision supports child safety whenever children are swimming. The finished fence helps protect swimming pools, but it doesn’t replace that routine.
Understanding the Quote and Warranty
A fair estimate should explain what the installation includes. Fence length alone doesn’t describe the entire job.
Gate requirements, deck materials, access, curves, and anchoring conditions can affect pricing. Repairs or additional support may also change the scope.
Homeowners should ask whether the quote includes sleeves, gate hardware, professional installation, cleanup, and any required follow-up. Permit responsibilities and applicable building codes should be clear.
A property-specific estimate is more useful than a generic online price. It gives the family a clearer picture before work begins.
Pool Fence of SWFL provides a lifetime manufacturer’s warranty against defects for its premium mesh fence. It also offers a workmanship guarantee.
Homeowners should request written terms for both. They should understand coverage, exclusions, and how to request service.
For pricing based on the actual backyard, homeowners can call or email Pool Fence of SWFL to Get a FREE Quote.
Good answers at the estimate stage make installation day feel more comfortable!
Frequently Asked Questions
Can a removable pool fence be installed in one day?
Yes, a one-day installation may be possible when the deck is suitable, measurements are confirmed, and the correct components are ready. Deck repairs, weather, or unusual site conditions can require additional time.
What should I do before the installation crew arrives?
Move furniture, toys, planters, and pool accessories away from the planned fence route, and arrange a supervised area for children and pets. Confirm access needs and check local permit requirements and any HOA rules beforehand.
Does every removable pool fence use the same drilling and sleeve specifications?
No. Hole size, depth, spacing, and angle depend on the fence system and the deck conditions, so the manufacturer’s instructions and the installer’s site assessment should guide the work.
What should I check during the final walkthrough?
Make sure the poles and mesh connections are secure, the lower edge follows the approved clearance, and the gate closes and latches reliably from different open positions. Ask the installer to explain section removal, reinstallation, and what to do if the gate needs adjustment.
A Dependable Fence Starts With Careful Work
A one-day removable pool fence installation can bring welcome relief when the deck and layout support the schedule. Careful preparation keeps that promise practical.
The strongest result combines stable anchors, secure mesh, and a gate that closes and latches reliably. A thorough walkthrough gives families confidence.
That peace of mind continues through regular checks and close supervision around the water. Fast service should always include careful safety checks.
Questions or ready to get started? Call us at (941) 500-9484