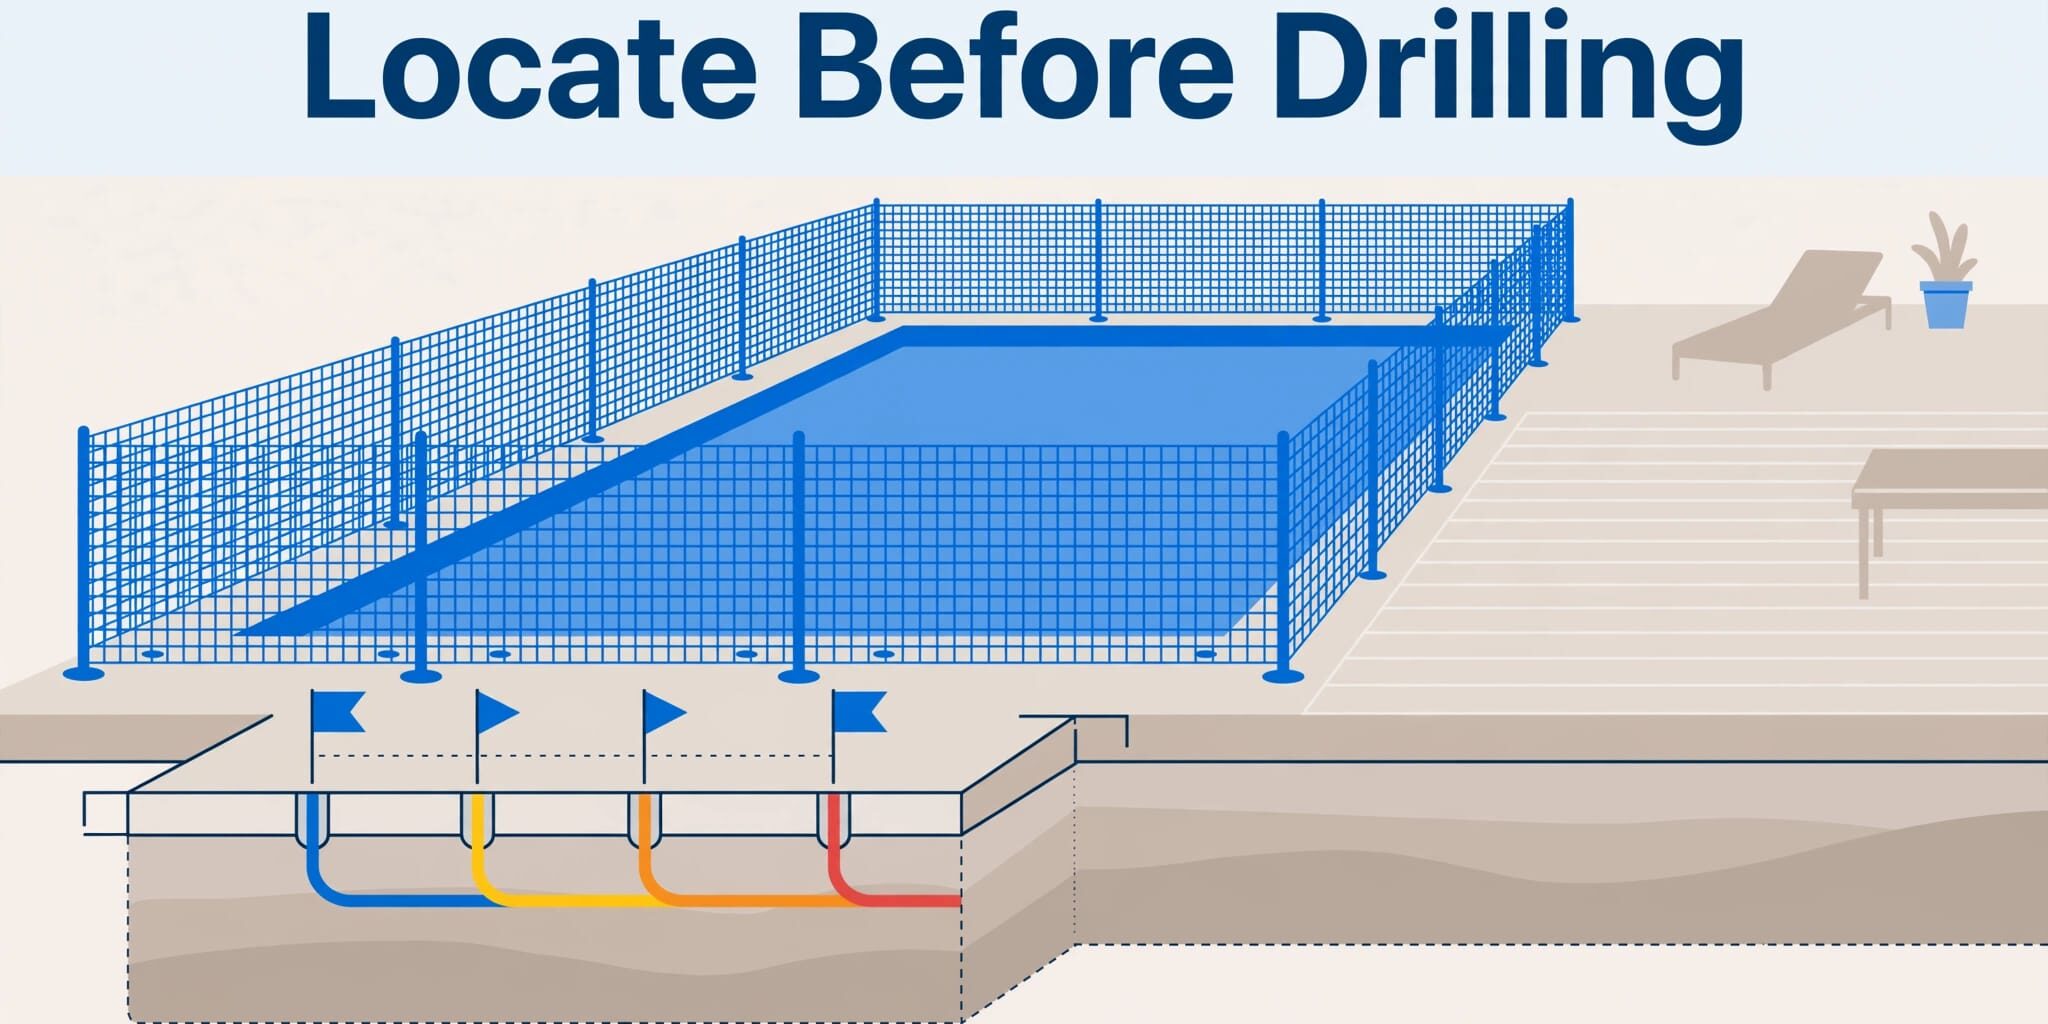
Before pool fence anchors go in, homeowners need an 811 request, private-line locating, and a careful deck assessment. These steps help identify buried services before drilling. If field markings are unclear, pause and ask a utility locator to explain them.
A neat pool deck can hide irrigation, electrical runs, and pool plumbing beneath the planned fence route. Good preparation brings peace of mind and starts with the fence layout, not the drill.
Step 1: Plan the Fence Route Before Requesting Marks
Finalize the complete fence and gate route before requesting marks through 811. Include the full planned work area in the request so the installer and locator have the same boundaries. This also helps prevent last-minute changes after locating begins.
Map the complete barrier and gate
String or chalk can outline the proposed removable mesh fence before anyone makes permanent holes. The route should include every corner, gate, curve, and change in elevation.
Pool steps, ladders, screen doors, and equipment access all deserve attention. A gate needs room to open, close, and latch without nearby furniture or landscaping interfering.
The planned route must also meet applicable pool-barrier requirements. Moving posts around utilities should never create an uncontrolled opening toward the water.
A professional site visit helps settle these details early. Families can contact the installation team to discuss the route, surface, and access needs.
Identify the surface and hidden obstacles
The installer should assess concrete condition, paver movement, deck edges, drains, and previous repairs. A firm-looking surface doesn’t establish dependable support underneath.
Pavers may need different anchoring methods than solid concrete. Natural stone also needs care around cracks, joints, and thin edges.
Homeowners should point out irrigation valves, pool equipment, deck lights, and known underground repairs. Old plans provide helpful clues, but they don’t replace a current field assessment.
These observations give the locator a clearer starting point.
Step 2: How to Locate Underground Utilities Through 811
Calling 811 starts the public-utility notification process. In Florida, Sunshine 811 provides this service free of charge.
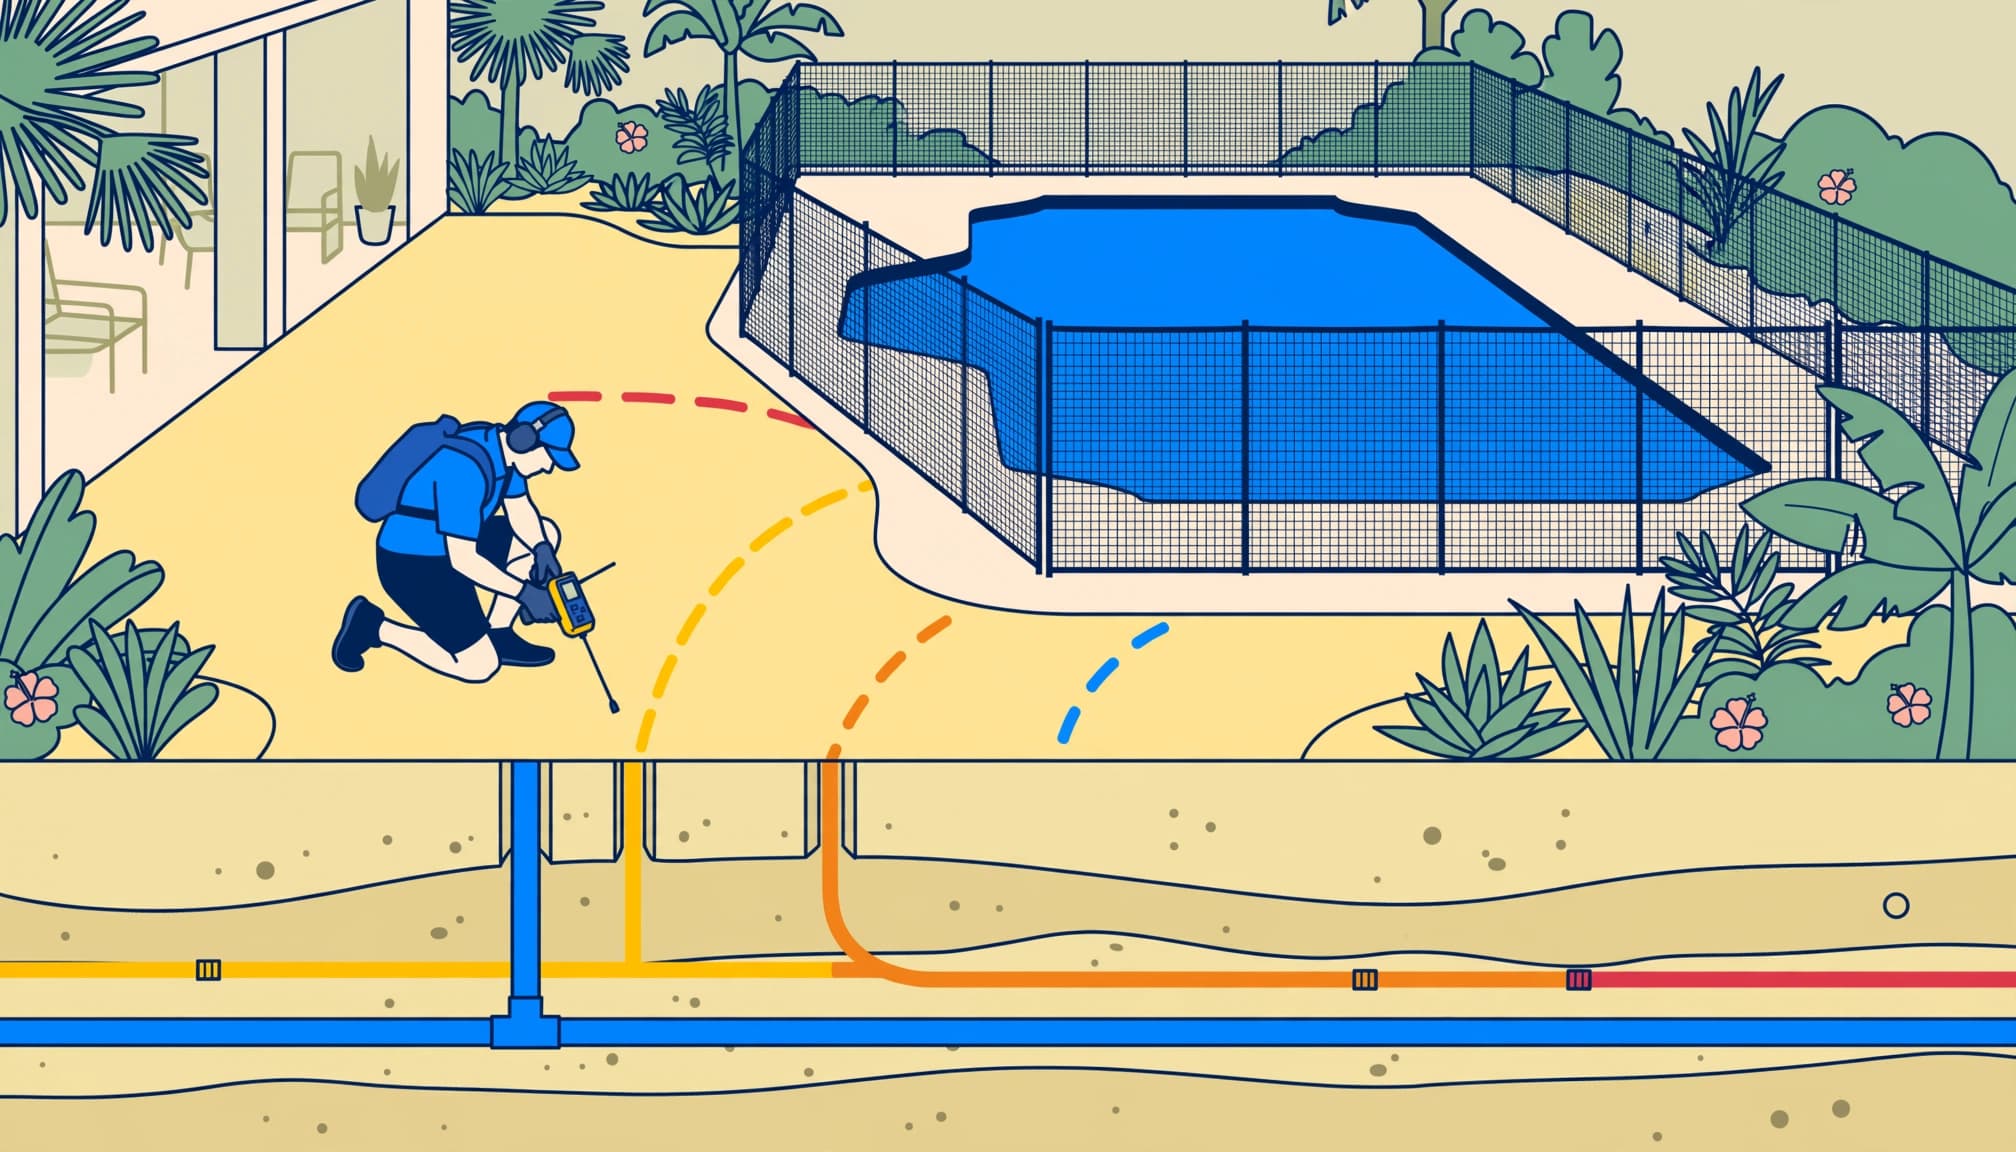
Submit a request for the actual work area
Homeowners can call 811 or use Sunshine 811’s online locate request. The request should describe the complete fence installation area, including possible gate or corner adjustments.
Accurate site information matters. A request covering only the front yard won’t address anchors behind the house.
Homeowners should keep the ticket information with installation records. The homeowner and installer also need a clear agreement about who handles the request and follows the responses.
A tight schedule shouldn’t push excavation or anchor drilling ahead of the locating process.
Understand what Sunshine 811 does
Sunshine 811 sends the request to member utility companies. Those operators or their locating contractors provide utility locating services to identify facilities they own and maintain.
Sunshine 811 doesn’t perform field locating itself. Its homeowner information explains this difference clearly.
Don’t begin digging until the required notice period ends and utility responses resolve the requested work area. An unanswered request doesn’t establish clearance.
Risky assumptions, unfamiliarity with 811, rushed schedules, and shallow-hole assumptions can all lead homeowners to skip this step. Small anchor holes still deserve careful preparation!
Step 3: Arrange Locating for Private Poolside Lines
Public-utility markings don’t cover every buried line in a backyard. Pool fence installation often involves areas where privately owned services run.
Include irrigation, pool plumbing, and electrical runs
An 811 request covers facilities owned and maintained by participating public utilities, not every private backyard line. Sunshine 811’s private-facility guidance explains why homeowner-owned lines need separate attention.
Private facilities can include irrigation piping, pool circulation lines, and electrical feeds serving backyard equipment. Their routes may cross the deck or nearby landscape beds.
Homeowners should provide available installation records and identify equipment connection points, but treat both as clues, not definitive route maps. Visible equipment can’t reveal the exact underground route. A pipe may turn beneath the deck before reaching the pool.
Hire a private locator when coverage is incomplete
A professional can provide utility locating services for facilities outside the public-utility marking scope. This service complements 811 rather than replacing it.
Arrange private locating when pool plumbing, irrigation, or electrical runs may cross anchor locations. It can also help when previous construction left unclear records.
The request should cover the full planned drilling area, including alternate anchor positions. Otherwise, a small layout adjustment may move work beyond the assessed area.
For deck anchors, the installer may also need concrete scanning. Yard locating alone doesn’t establish that a slab contains no embedded services.
Step 4: Match the Locating Method to the Utility
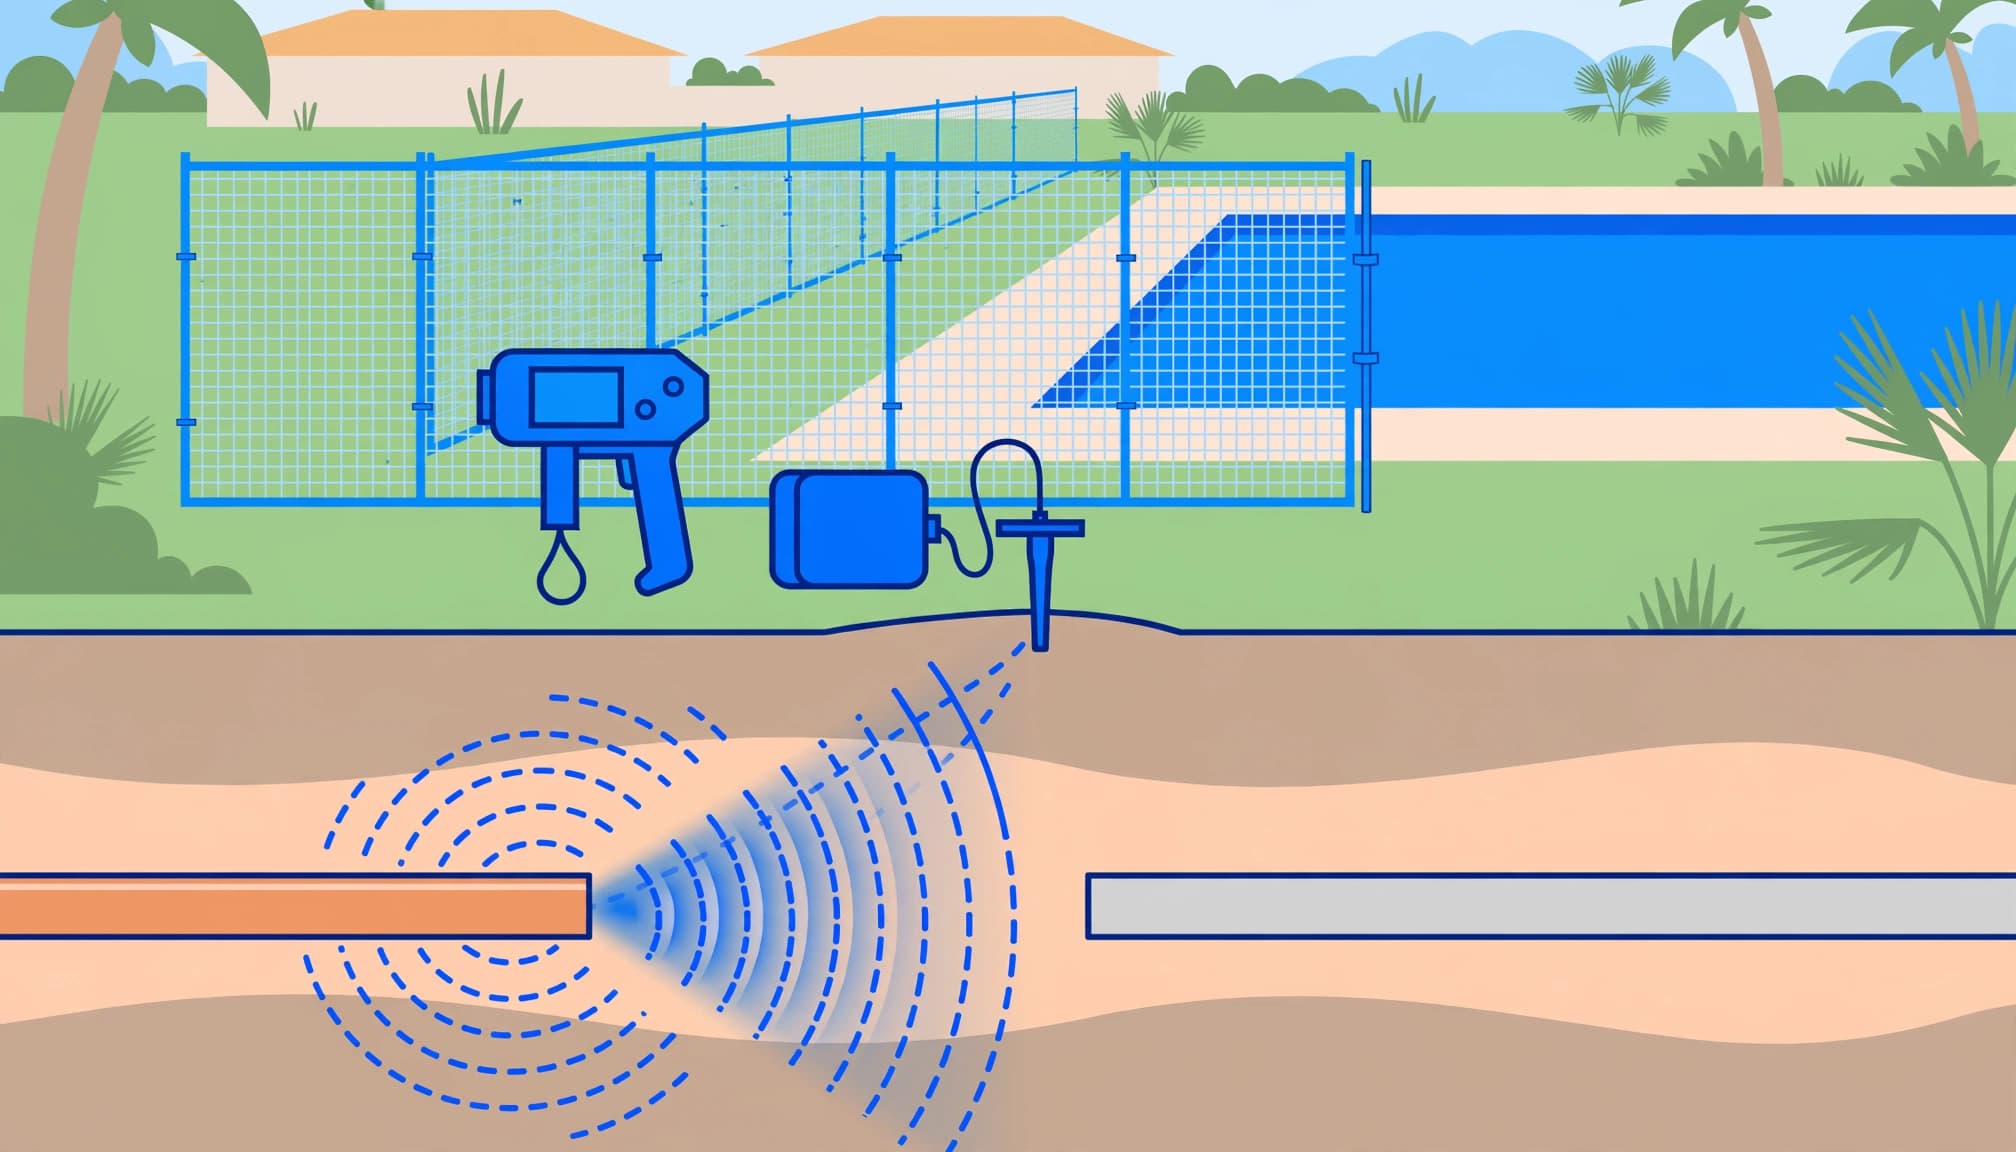
Locators choose equipment according to the line material, access points, ground conditions, and surrounding interference. No single method finds every buried service. A precision locator selects equipment and interprets results based on these conditions.
Electromagnetic locating for conductive lines
Locators commonly begin with electromagnetic locating, often called EMI. A transmitter applies a signal, and a receiver follows the conductive line’s route.
EMI works best when a conductive line provides a clear path for the signal. Clamp-on transmitters can help trace accessible metallic cables or pipes, including copper water lines and conductive communications cables.
Radiodetection RD7200 and RD8200 instruments are examples of professional cable and pipe locators. Trained interpretation is still necessary.
Equipment choice for the RD7200 and RD8200 depends on the target, access points, and interference. Neither model guarantees detection.
Untraced plastic pipe doesn’t provide the same conductive path, which limits EMI locating. In suitable conditions, a locator may trace a sonde placed inside an accessible nonmetallic pipe.
GPR and other methods for nonmetallic lines
Ground penetrating radar, or GPR, can supplement electromagnetic locating. GPR may identify metallic and nonmetallic utilities through reflected radar signals.
PVC and HDPE pipes may require GPR, acoustic locating, or another suitable method. The choice depends on access and site conditions.
Federal Highway Administration guidance explains that GPR performance varies with the target and surrounding material. Some conditions prevent detection even at depths of two to four feet.
A blank scan doesn’t guarantee a clear work area. The locator should explain coverage and unresolved findings before the installer approves anchor locations.
Step 5: Use the Findings to Approve Each Anchor Location
Locating produces information for planning. It doesn’t give blanket permission to drill anywhere near the fence route. Plans and estimated depths don’t establish clearance.
Florida’s tolerance zone extends 24 inches from each facility’s outside edge, rather than simply from the center of a mark. Sunshine 811’s safe-digging steps explain the required care around that zone.
The installer should compare each proposed hole with public markings, private locating results, and the deck assessment. Manufacturer instructions control sleeve dimensions, spacing, and anchoring details.
A useful decision checklist follows:
- Before digging, confirm current marks cover the complete work area. Keep an anchor location only when the assessment supports the drilling path and surrounding deck.
- Relocate a conflicting anchor without weakening the complete barrier or interfering with gate operation.
- Pause if marks are unclear, conflict, disappear, or place a utility near a proposed anchor. Get clarification or additional locating, and don’t drill until the conflict is resolved and utilities are properly located and marked.
- Obtain additional assessment when the revised route extends beyond the original locating coverage.
Photos help document the markings and approved layout before work begins. The precision locator should document findings and record equipment used, such as an RD7200 or RD8200, when applicable.
Homeowners should preserve the original field marks throughout the project. If weather or deck work removes them, the crew needs renewed locating information before proceeding. Guessing the old position from memory isn’t dependable.
The final layout should show individual sleeve locations, not only a general fence line.
What Utility Locating Costs and How Long It Takes
The free 811 service and paid private locating cover different responsibilities. A homeowner may need both for the same fence project.
Budget for private locating separately
Millman Land’s utility-locating guide gives a broad commercial range of $100 to $300 per hour. These figures describe market pricing, not a fixed Southwest Florida charge.
FindLocators lists typical small residential private-locating totals of $300 to $650. Equipment needs, site access, and the scope of investigation affect the total.
An hourly rate also doesn’t equal the final invoice. Minimum visits and additional scanning can change the cost.
Utility locating and fence installation are separate parts of the project budget.
Separate fieldwork from notification time
Millman estimates that locating work can take a day or two. Small areas may take only a couple of hours.
Those estimates describe fieldwork, not the 811 notification period. A quick scan doesn’t shorten the required notification process.
Homeowners should schedule locating ahead of installation and keep the work area accessible. Clearing movable furniture and equipment helps the technician reach the full route.
Unresolved findings may require another visit or a different detection method.
Key Takeaways Before Drilling
Good preparation makes the installation easier to understand and safer to plan.
- Start with the full removable mesh fence route, including the gate, access points, and surface changes.
- Combine free public-utility notification with private locating wherever homeowner-owned services may cross the drilling area.
- Approve individual anchor positions only after resolving utility conflicts and assessing the supporting deck.
After installation, the crew should inspect the whole barrier. Posts should remain secure, mesh should stay tight, and the gate should close and latch reliably.
Homeowners should keep locating information with product documents and installation records.
Common Questions About Underground Utility Locating
How deep are utility lines beneath a pool deck?
There isn’t one dependable depth for every utility. Different services, construction practices, and later deck changes affect burial depth.
Pool plumbing and irrigation also follow their own installation routes. A shallow anchor hole doesn’t establish safe clearance.
The fence manufacturer’s required sleeve depth describes the fence system. It doesn’t describe the depth of nearby utilities.
A locator’s estimated depth also needs careful interpretation. The installer should assess the full drilling path rather than relying on a single depth reading.
Why would USIC visit a home?
USIC provides public utility locating services. A technician may visit after an 811 excavation request reaches a utility company that uses its services.
That USIC visit covers the utility assigned to the ticket. It doesn’t include every privately owned pool plumbing or irrigation line.
Homeowners should keep the planned work area accessible and share relevant site information. The technician’s visit is part of damage-prevention work, not evidence that every backyard service has clearance.
Private locating may still be necessary.
A Well-Planned Fence Starts Below the Surface
Families deserve a dependable barrier and a deck that stays in good condition. Locating utilities before anchoring helps protect both.
A complete route, clear locating results, and suitable deck support give the installation a strong starting point. That preparation brings practical peace of mind.
Homeowners can Get a FREE Quote by phone or email for a professionally installed removable mesh pool fence.
Questions or ready to get started? Call us at (941) 500-9484