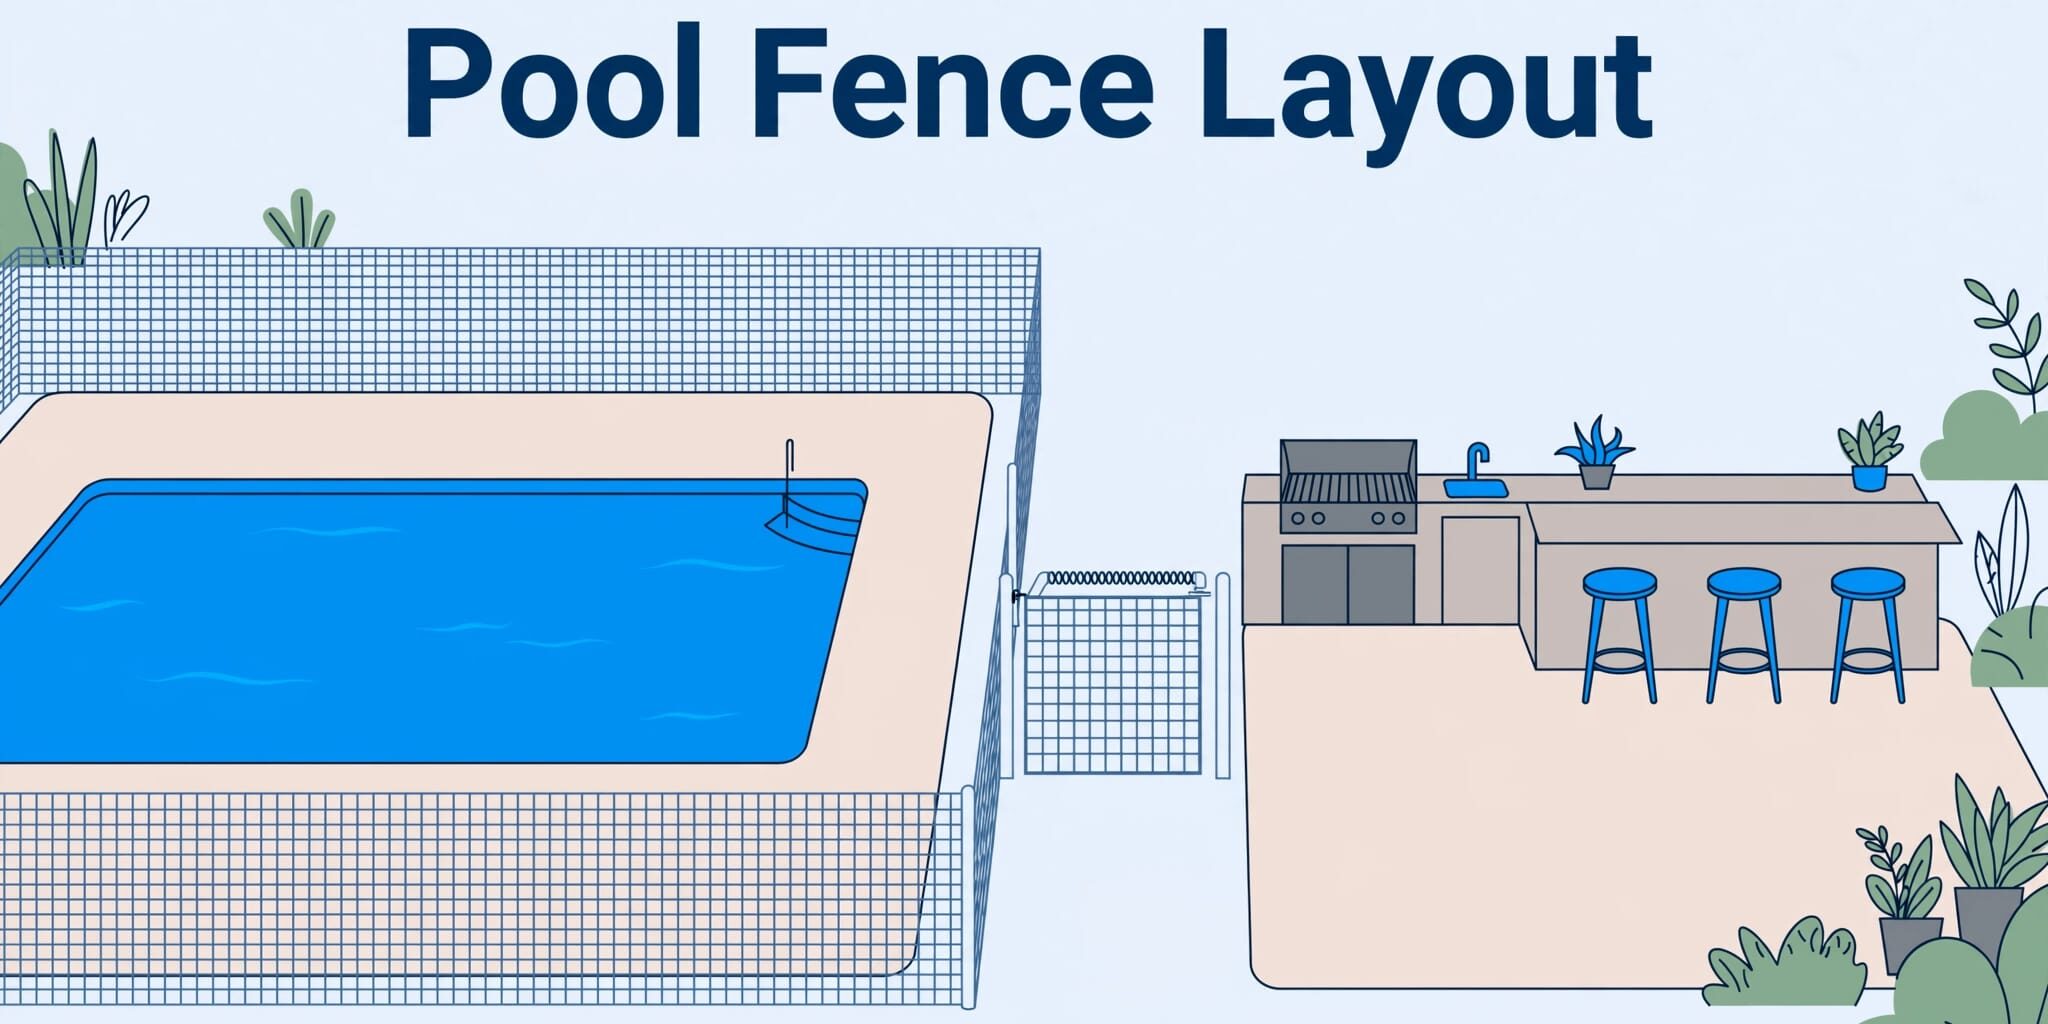
A good pool fence layout keeps outdoor kitchens and grills outside the pool enclosure, with clear gate access. This separation lets families use the patio without opening the pool barrier for every meal.
However, counters, stools, and grill lids can complicate an otherwise simple fence line. Planning the cooking and swimming areas separately helps prevent crowded walkways and awkward gate placement.
Pool fence planning starts with the backyard’s everyday traffic pattern.
Key Takeaways
- Keep the cooking and dining areas outside the pool barrier whenever the yard allows.
- Plan water clearance, gate movement, and furniture placement before choosing anchor locations.
- Use complete, properly anchored mesh fencing with a self-closing, self-latching gate.
- Measure the proposed fence route, rather than estimating its length from the pool’s dimensions.
Separate Cooking Space From Pool Access
Keep the kitchen outside the enclosure
Keep the outdoor kitchen, grill, and serving area outside the fenced swimming area. Adults can prepare food without repeatedly entering the pool enclosure.
Guests shouldn’t need to cross the barrier to reach food, drinks, seating, or a refrigerator. That keeps routine trips from creating unnecessary gate traffic.
Built-in counters also deserve attention because children can use nearby surfaces as climbing steps. Keep the fence line away from easy routes over the barrier.
Leave room around the grill for its lid, service access, and specified operating clearances.
Preserve walking space and visibility
Plan a clear path between the kitchen, back door, and dining area. Leave enough room to pull out chairs.
Keep the gate visible rather than placing it behind an island or storage cabinet. A removable mesh fence can preserve views across the water.
Cooking doesn’t count as active supervision. The CDC’s drowning-prevention guidance recommends barriers alongside close, constant supervision.
Choose a Pool Fence Layout That Fits the Yard
Most yards suit one of four basic arrangements.
| Layout | Suitable yard arrangement | Kitchen consideration |
|---|---|---|
| Straight run | A continuous barrier divides the patio and pool. | Keeps the kitchen on the house side. |
| Full perimeter | Mesh fencing independently surrounds the pool. | Separates swimming from the entire entertaining area. |
| U-shape layout | Three sides connect to an existing approved barrier. | Leaves kitchen access beyond the open patio side. |
| L-shape layout | Two runs connect suitable existing structures. | Can protect a corner pool beside a kitchen. |
The simplest route usually needs fewer turns and connection points. However, every arrangement must close the entire access route around the water.
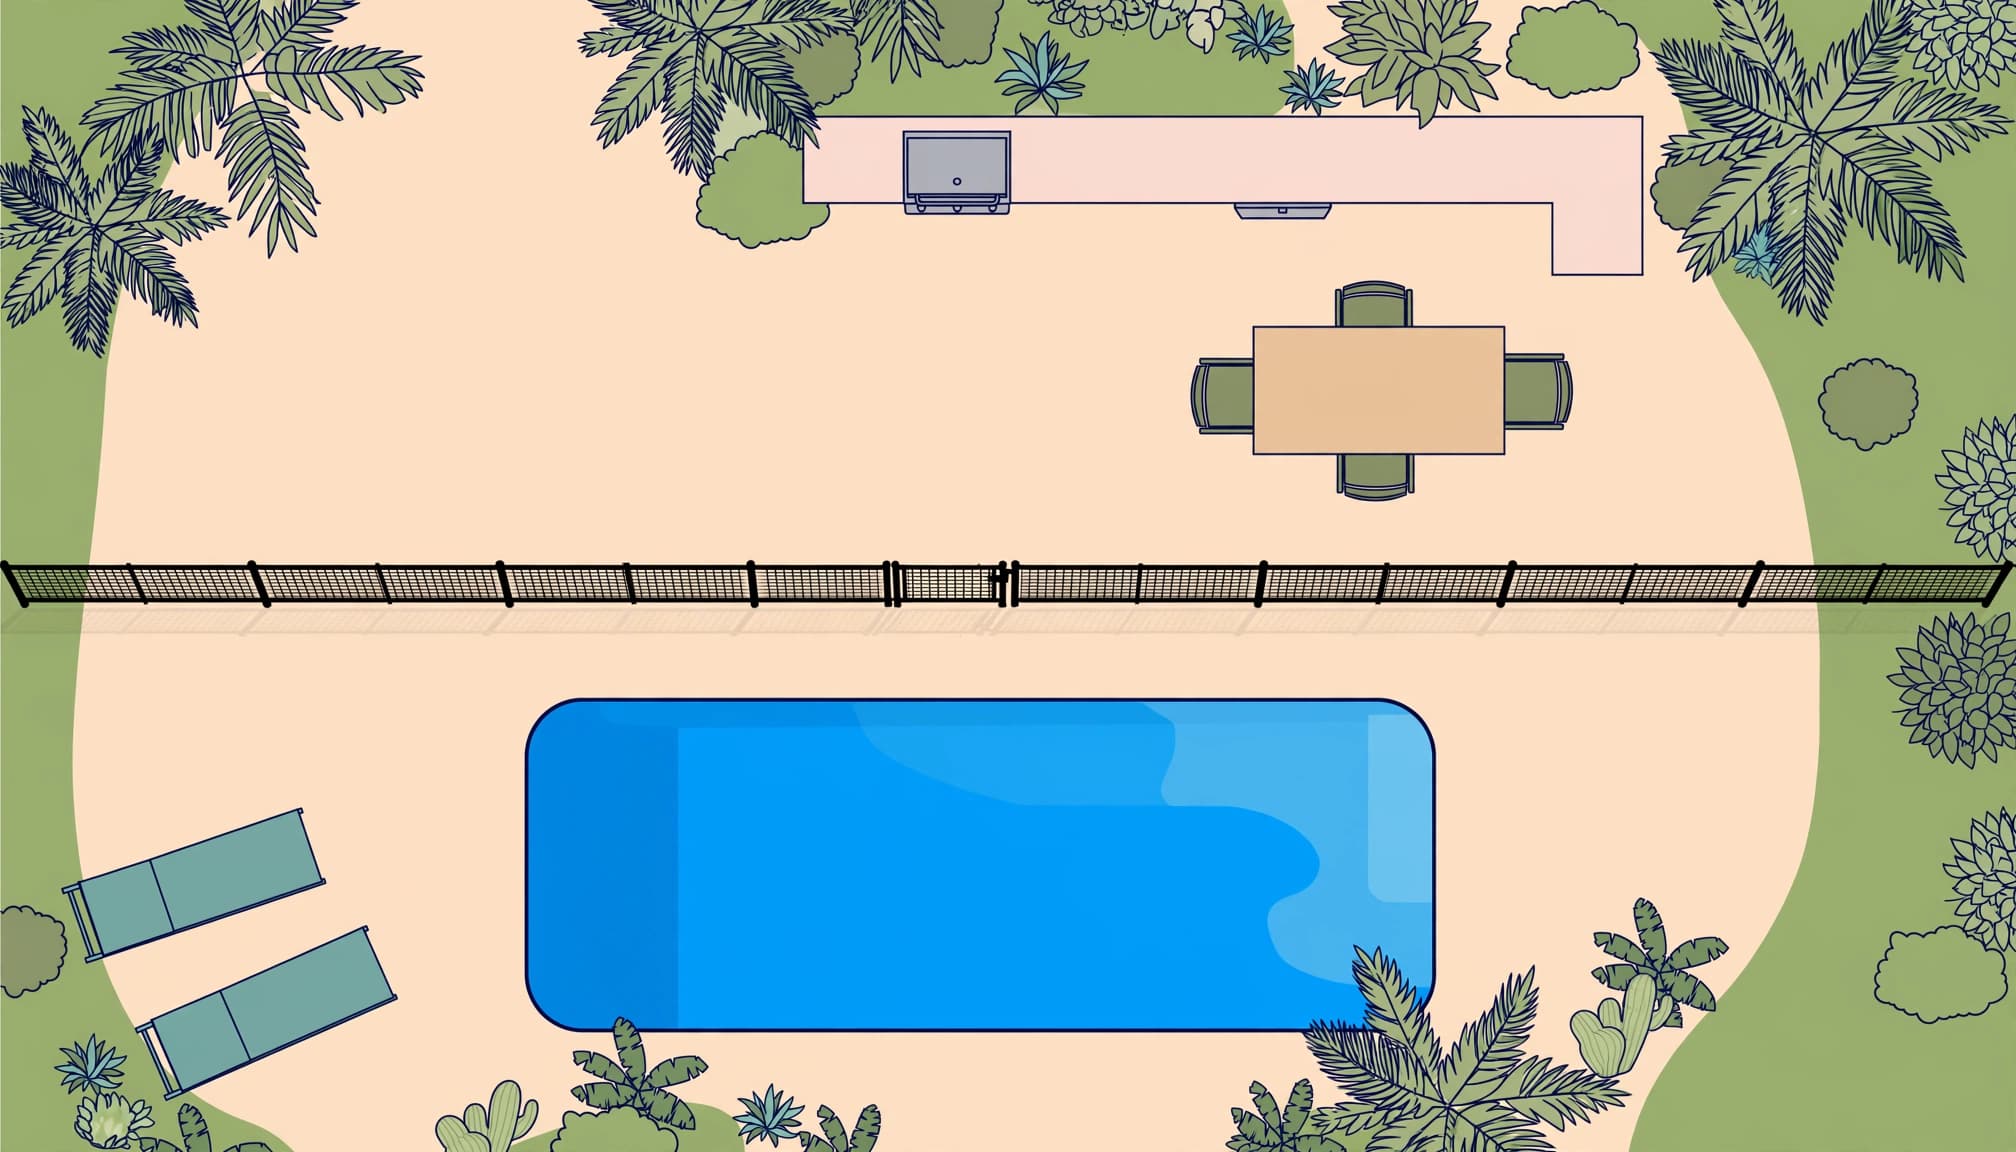
A full perimeter offers independent separation when the surrounding structures don’t provide a suitable barrier. By contrast, shorter layouts depend on secure endpoints.
A decorative wall or existing property fence doesn’t automatically qualify. Its height, openings, and connections still matter.
Dark mesh visually recedes at a distance. Lighter mesh reflects more light, so it usually appears more noticeable.
Set Water Clearance and Mesh-Fence Dimensions
Leave space beside the water
ASTM F2286 calls for at least 20 inches between the fence and the water’s edge. Measure the distance from water’s edge to the fence. Where space allows, 24 to 36 inches provides more usable clearance.
That standard-based measurement isn’t a universal property-line setback. The approved layout must also account for the deck and applicable building requirements.
The tightest location often determines the route. Steps, ladders, raised walls, and grill islands can reduce usable space unexpectedly.
The fence shouldn’t simply trace every bend in the pool. It should leave practical access for pool maintenance and safe movement.
Control height and openings
Most state and local codes require a pool fence height of at least 48 inches. Some jurisdictions or licensing rules require five feet.
For removable mesh, keep bottom clearance at one inch or less. Pole spacing should stay within 40 inches and follow the selected system’s specifications.
The completed fence must prevent passage of a 4-inch sphere. Openings between vertical elements should remain under four inches.
The CPSC’s residential pool barrier guidelines explain these mesh-fence dimensions. A pool safety fence needs more than the right height to provide a safe barrier.
Position the Gate Away From Grill Traffic
Plan for at least one pool fence gate, fitted as a self-closing gate with a self-latching mechanism. It should open away from the pool and have an unobstructed swing.
The American Academy of Pediatrics, CPSC, and National Drowning Prevention Alliance recommend self-closing, self-latching gates. The AAP’s drowning-prevention policy also recommends separating pools from homes and yards.
Place the gate where adults naturally approach the swimming area, but keep it away from the busy route between the grill and dining table. Avoid serving traffic near the gate.
For All-Safe gate planning, reserve about 9 feet 7 inches of straight fence around the gate. That dimension belongs to the system’s planning guidance, rather than every gate design.
Keep stools, coolers, and storage boxes away from both sides. Check that grill lids, cabinet doors, and pulled-out chairs don’t block access paths or the gate swing.
A clear gate opening isn’t enough if serving traffic blocks the gate’s return.
Finally, the gate must close and latch without someone pushing it.
Handle Curves, Corners, and Uneven Surfaces
Use controlled turns around curved pools
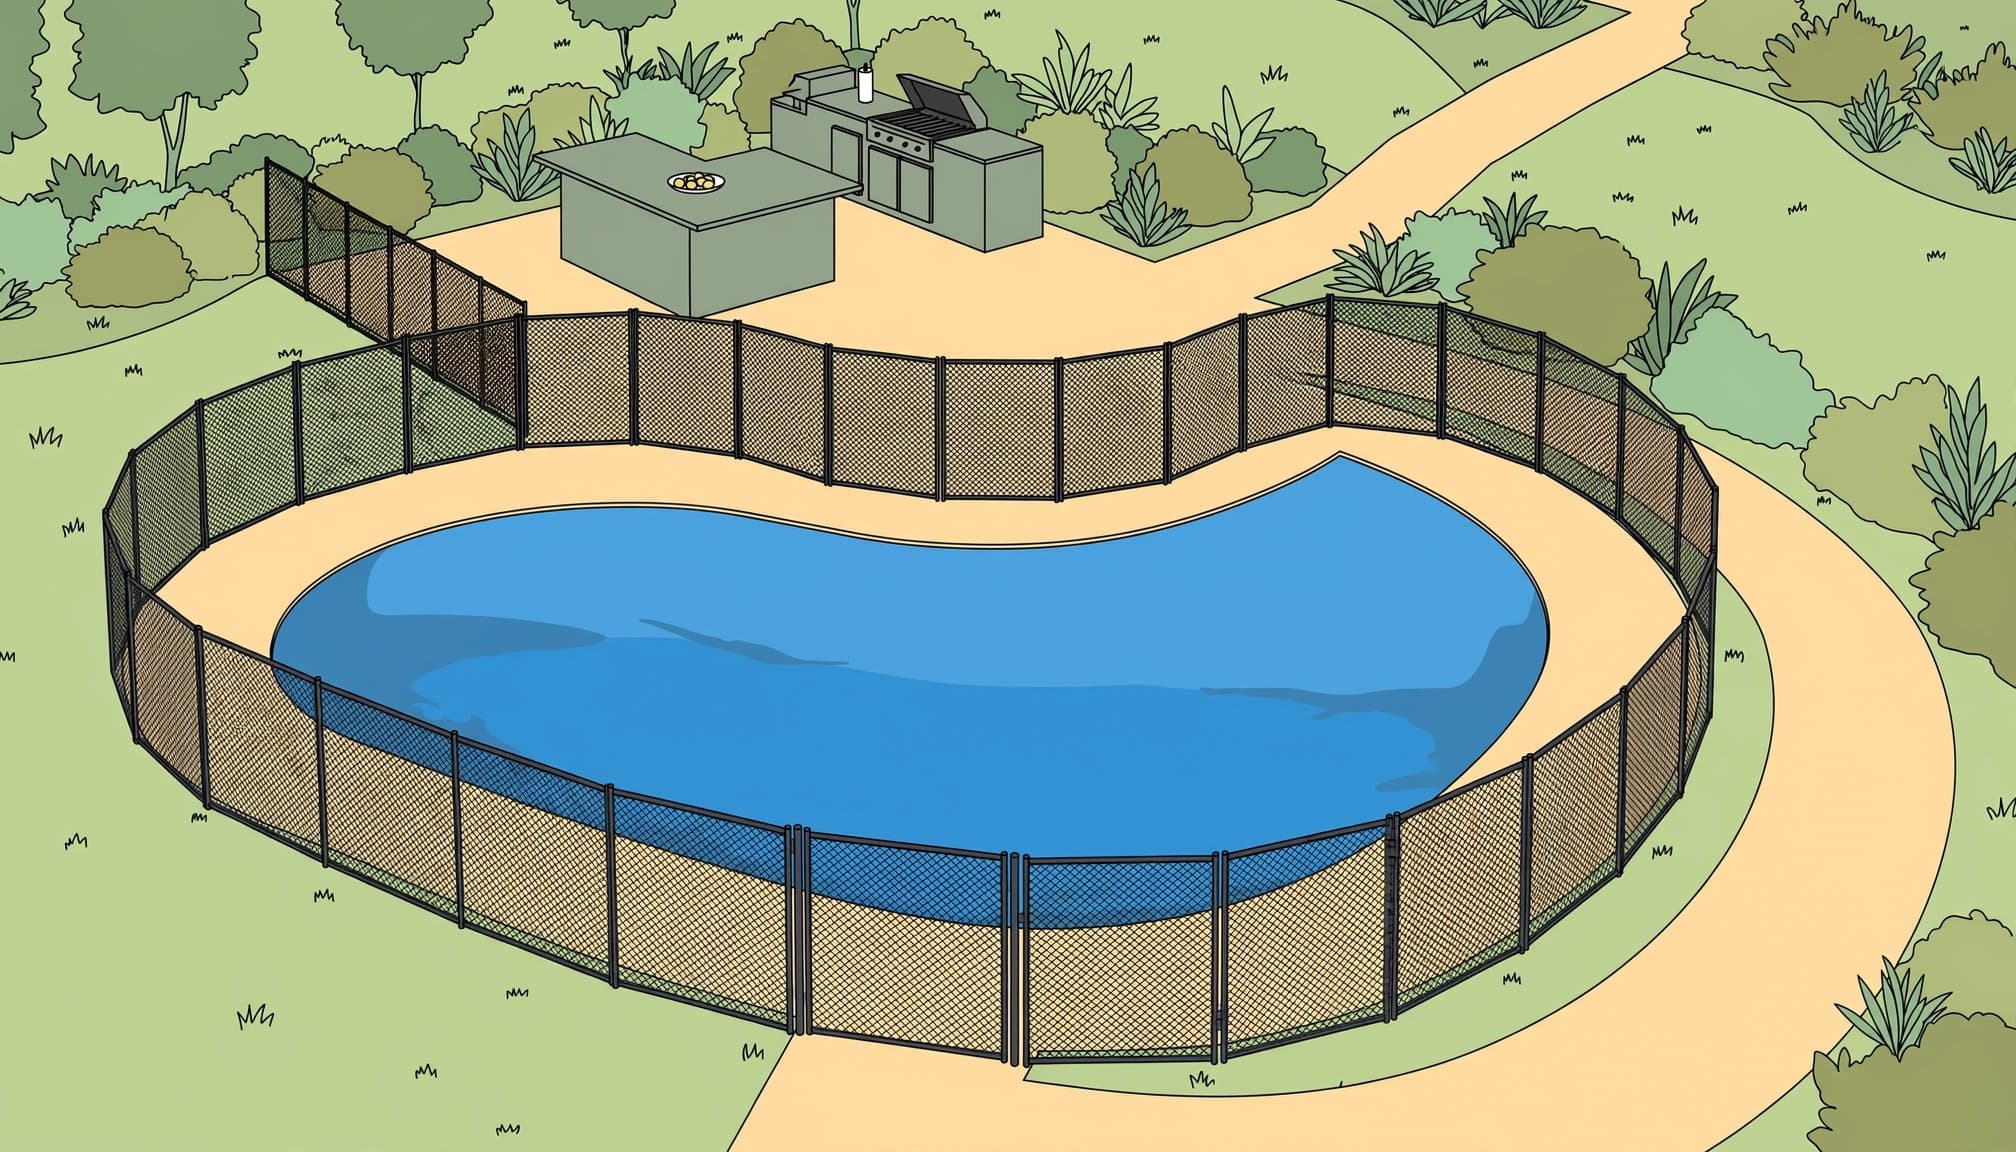
Freeform pools rarely need fencing that follows every contour. Gentle straight sections between curves help a mesh pool fence maintain tension.
All-Safe describes three turn options: soft turns under 45 degrees, double-pole corners for 90-degree changes, or a Corner Post.
The selected system determines the appropriate connection. Extra turns add complexity, so a slightly wider route can produce a cleaner installation.
Likewise, a gate belongs on a straight stretch, rather than within a curve. This placement gives the gate assembly a stable, predictable arrangement.
Plan anchors and bottom clearance together
Concrete provides the preferred base for tensioned mesh fencing. Grass, dirt, and turf need PVC sleeves set within poured concrete footings.
A gate may also need a dedicated concrete pad. Pavers and other surfaces require an anchoring design suited to their supporting base.
Slopes and steps can create excessive gaps beneath otherwise straight-looking panels. Installers must assess the bottom edge along the complete run.
Sleeve locations also need to avoid drains, screen tracks, and underground utilities. These constraints can change the route before drilling begins.
Measure the Route and Count Fence Sections
A reliable estimate starts with the marked fence line. Pool length and width alone won’t capture corners, kitchen offsets, or gate locations.
First, mark each straight run and turning point. For irregular yards, flexible string can help establish the proposed route.
Next, record each segment separately, including surface changes and elevation changes. Measurements should follow the intended fence path, not the waterline.
All-Safe removable sections measure 15 feet, with poles spaced 36 inches apart. Other systems can use different dimensions.
For a rough All-Safe section estimate, subtract three feet for each gate opening. Then divide the remaining footage by 15.
For example, a 90-foot layout with one gate leaves 87 feet. Dividing 87 by 15 gives 5.8, or approximately six fence sections.
Corners, custom cuts, and gate assemblies still affect the final materials list. Homeowners can request a pool fence installation quote once the proposed route takes shape.
Budget for the Complete Installation
These broad installed pool fence cost ranges provide planning context, rather than a Southwest Florida project quote.
| Material | Typical installed cost per foot | About 150 feet with two gates |
|---|---|---|
| Removable mesh | $15 to $35 | $2,500 to $6,000 |
| Aluminum pool fence | $30 to $65 | $5,000 to $11,000 |
| Glass pool fence | $90 to $200 or more | $14,000 to $30,000 or more |
Gate hardware, difficult surfaces, and custom corners can change totals. A shorter route doesn’t always produce the lowest installation price.
Local building codes and the building department determine barrier requirements and approval. HOA rules can also affect placement and appearance.
Insurers may impose stricter requirements than building codes. Include these requirements in the planning stage, before the layout is fixed.
For a property-specific mesh installation price, homeowners can Get a FREE Quote. A layout showing the kitchen and gate makes the estimate more useful.
Printable Layout Planning Checklist
Before ordering sections, use pool fence planning to record these details:
- Mark the complete barrier route, including every endpoint and corner.
- Record the narrowest distance between the fence and water.
- Show the kitchen, grill lid, cabinet doors, and pulled-out chairs.
- Identify the gate’s straight run and outward swing.
- Check for obstacles and gaps near furniture, surface changes, and the barrier’s bottom edge.
- Note drains, slopes, steps, and changes in anchoring surface.
- Remove climbable benches, large planters, and storage boxes near the barrier.
- Record each segment’s length and calculate the preliminary section count.
This simple drawing helps expose conflicts while the route can still change easily.
Frequently Asked Questions
How close can a pool sit to a boundary fence?
There isn’t one universal distance. Pool setbacks and pool-barrier clearance address different concerns.
Property-line rules govern the pool’s location on the lot. Separately, barrier dimensions govern access protection and clearance around the water.
An existing boundary fence only helps when the complete arrangement satisfies applicable pool-barrier requirements.
Can a house wall form one side?
Many codes allow this arrangement when pool-facing doors and windows have the required safeguards. Depending on the opening, safeguards can include alarms or self-closing, self-latching hardware.
The CPSC’s guidance on protected house openings describes these protective measures.
However, a house wall doesn’t remove the need for secure fence connections. The kitchen route must still avoid an unprotected path into the pool area.
A Practical Layout Keeps the Barrier Ready
A dependable pool fence layout separates everyday cooking from controlled pool access. Clear walking space and a properly positioned gate make that separation easier to maintain.
The strongest plan combines complete protection around the water with suitable anchoring and dependable gate operation. Mesh visibility supports supervision, but it never replaces an attentive adult.
Questions or ready to get started? Call us at (941) 500-9484